Managing Subscriptions and Access

Stipa Cloud makes it easy to share charts, summaries, raw data with the rest of your team. Grant access for entire data collection Projects, individual records, or anything in between. The first step to sharing your Stipa Cloud resources is to add other people to your Stipa Cloud subscription. A personal subscription is automatically created for you when you sign up to Stipa Cloud.
After logging in to the dashboard page, navigate to the Subscription view by selecting the appropriate tab from the menu on the left side of the screen. Select the subscription you wish to manage from the menu at the top of the view.
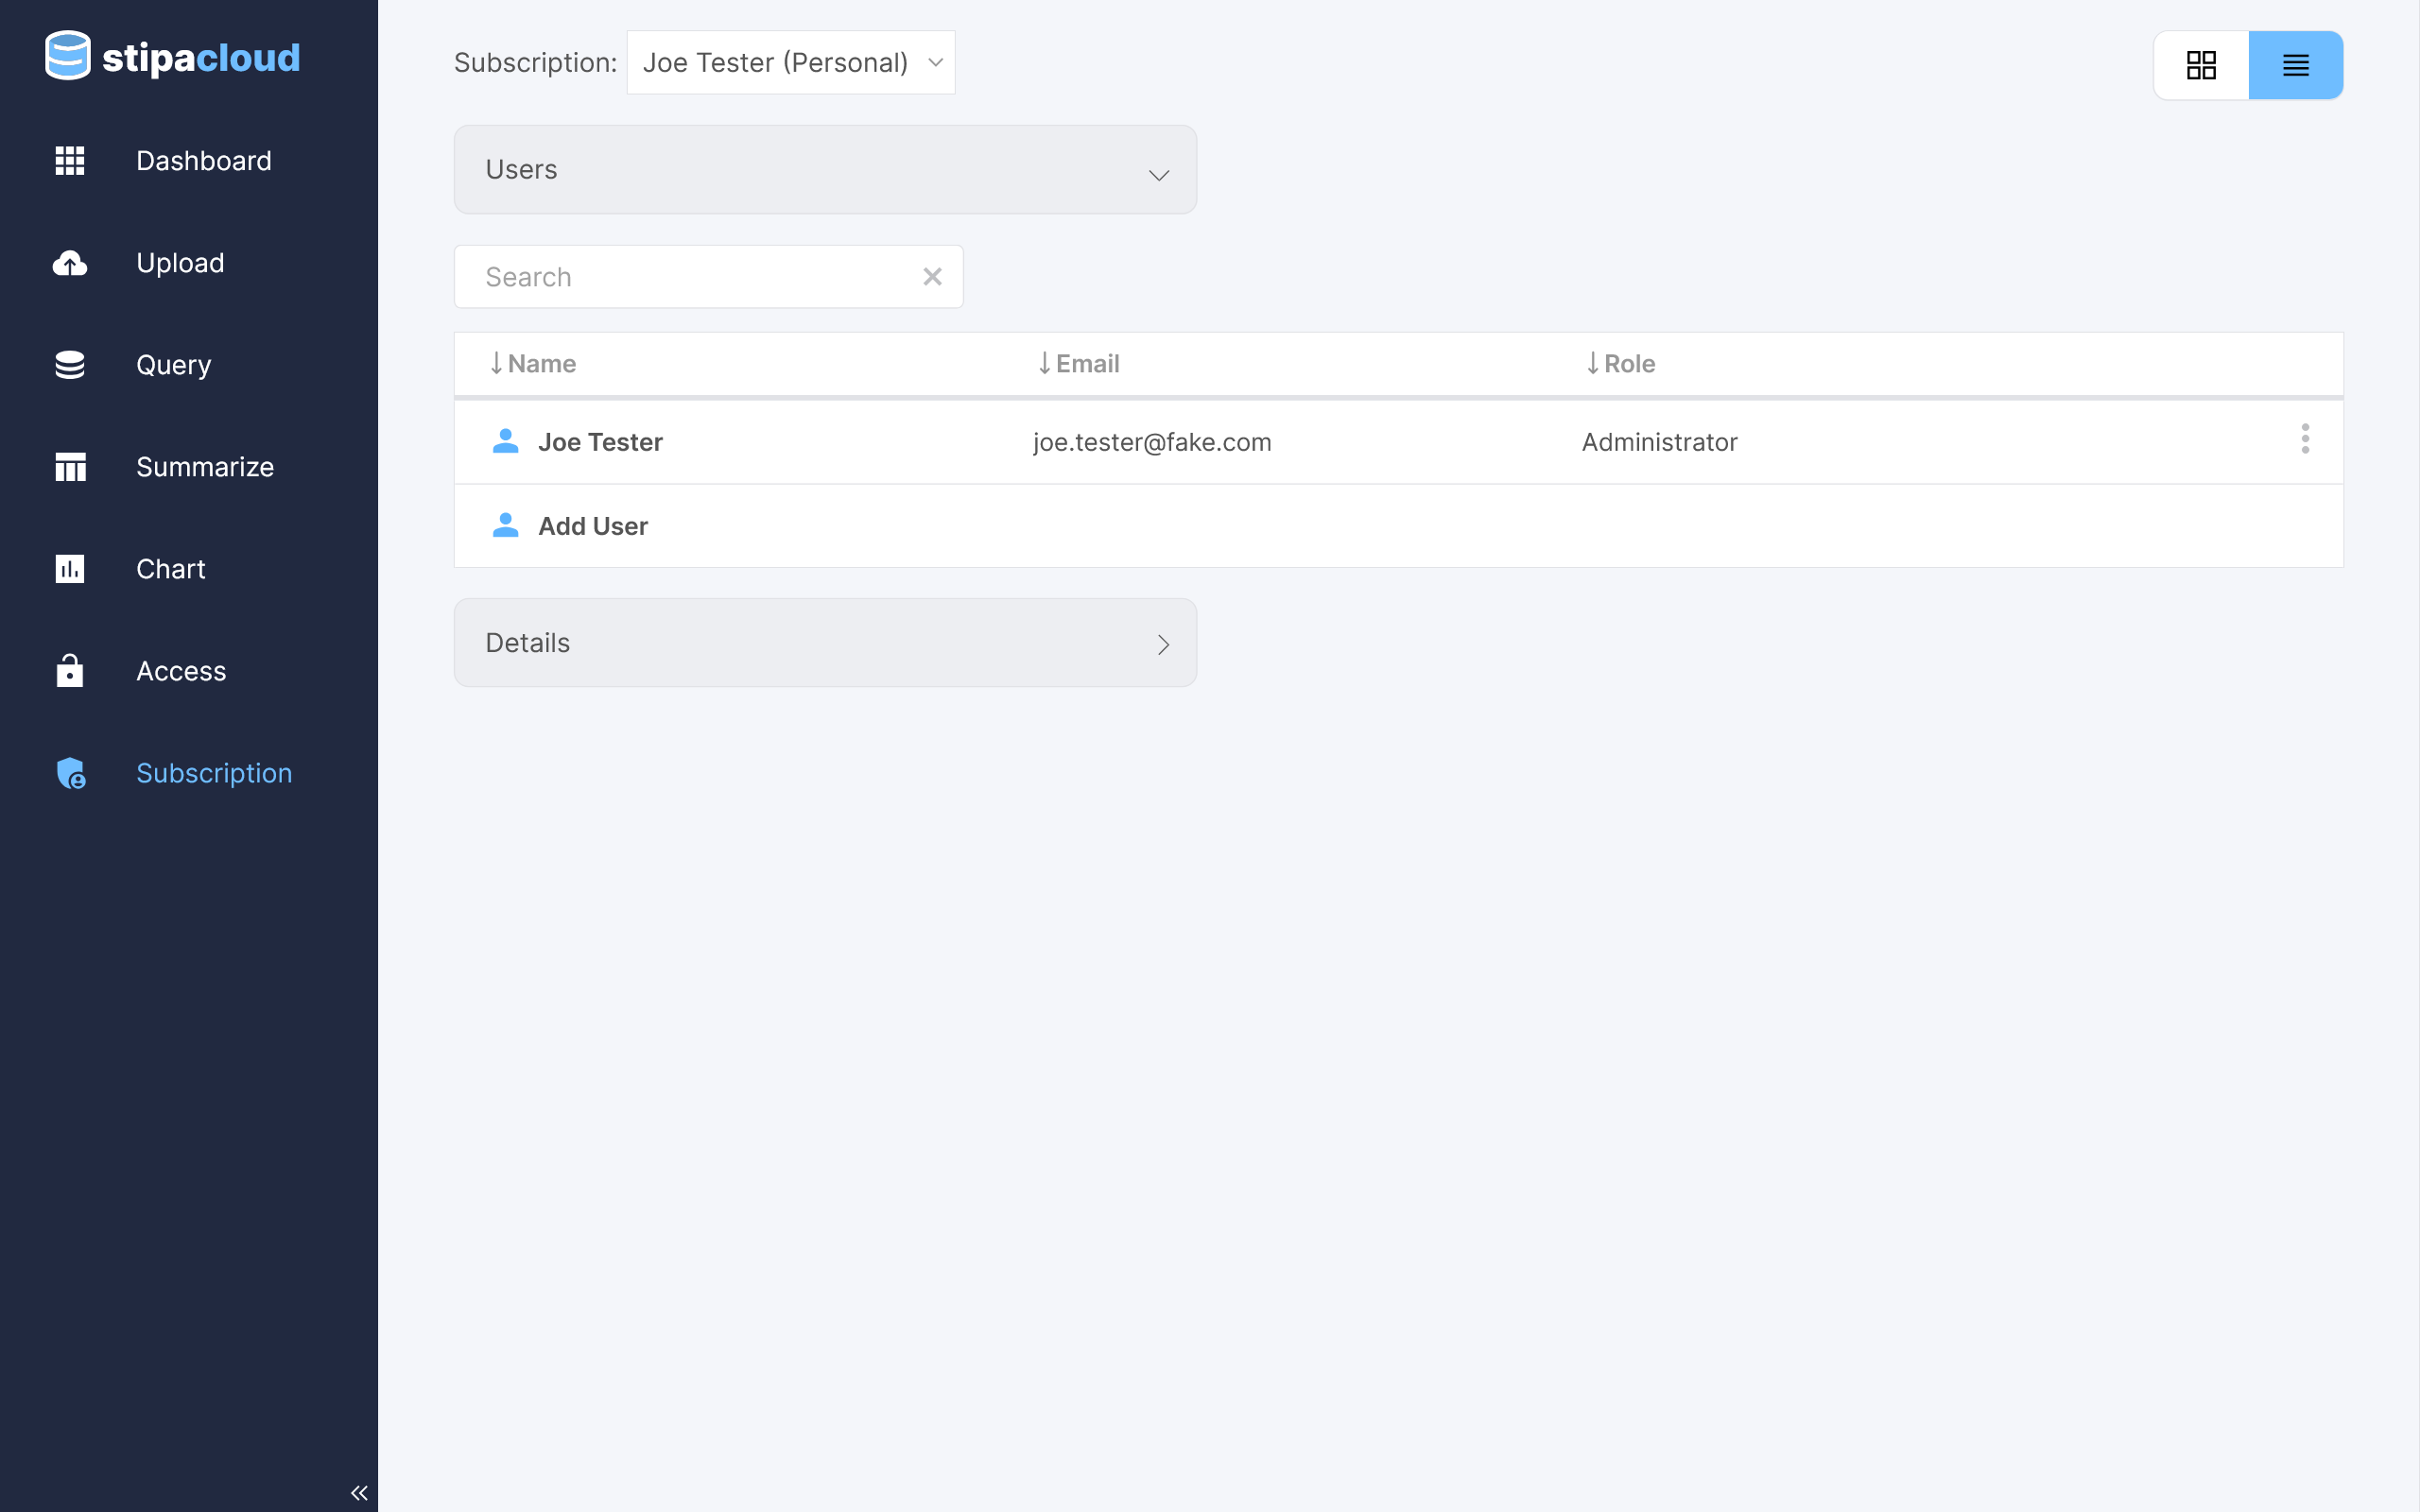
Figure 1. Subscription view.
Current subscription members are listed in the User section of the view. Double click on a user to open a toolbar for editing their role. Select the desired role and click Apply. You can also open the toolbar, as well as remove a user from the subscription, using the overflow menu in the upper right corner of the catalog item.
The Administrator role allows users to upload Project data, view all Projects associated with the subscription, and assign roles to other users. The Member role allows users to upload Project data and view Project data only. The Viewer role allows users to view Project data only. Every subscription must have at least one Administrator.
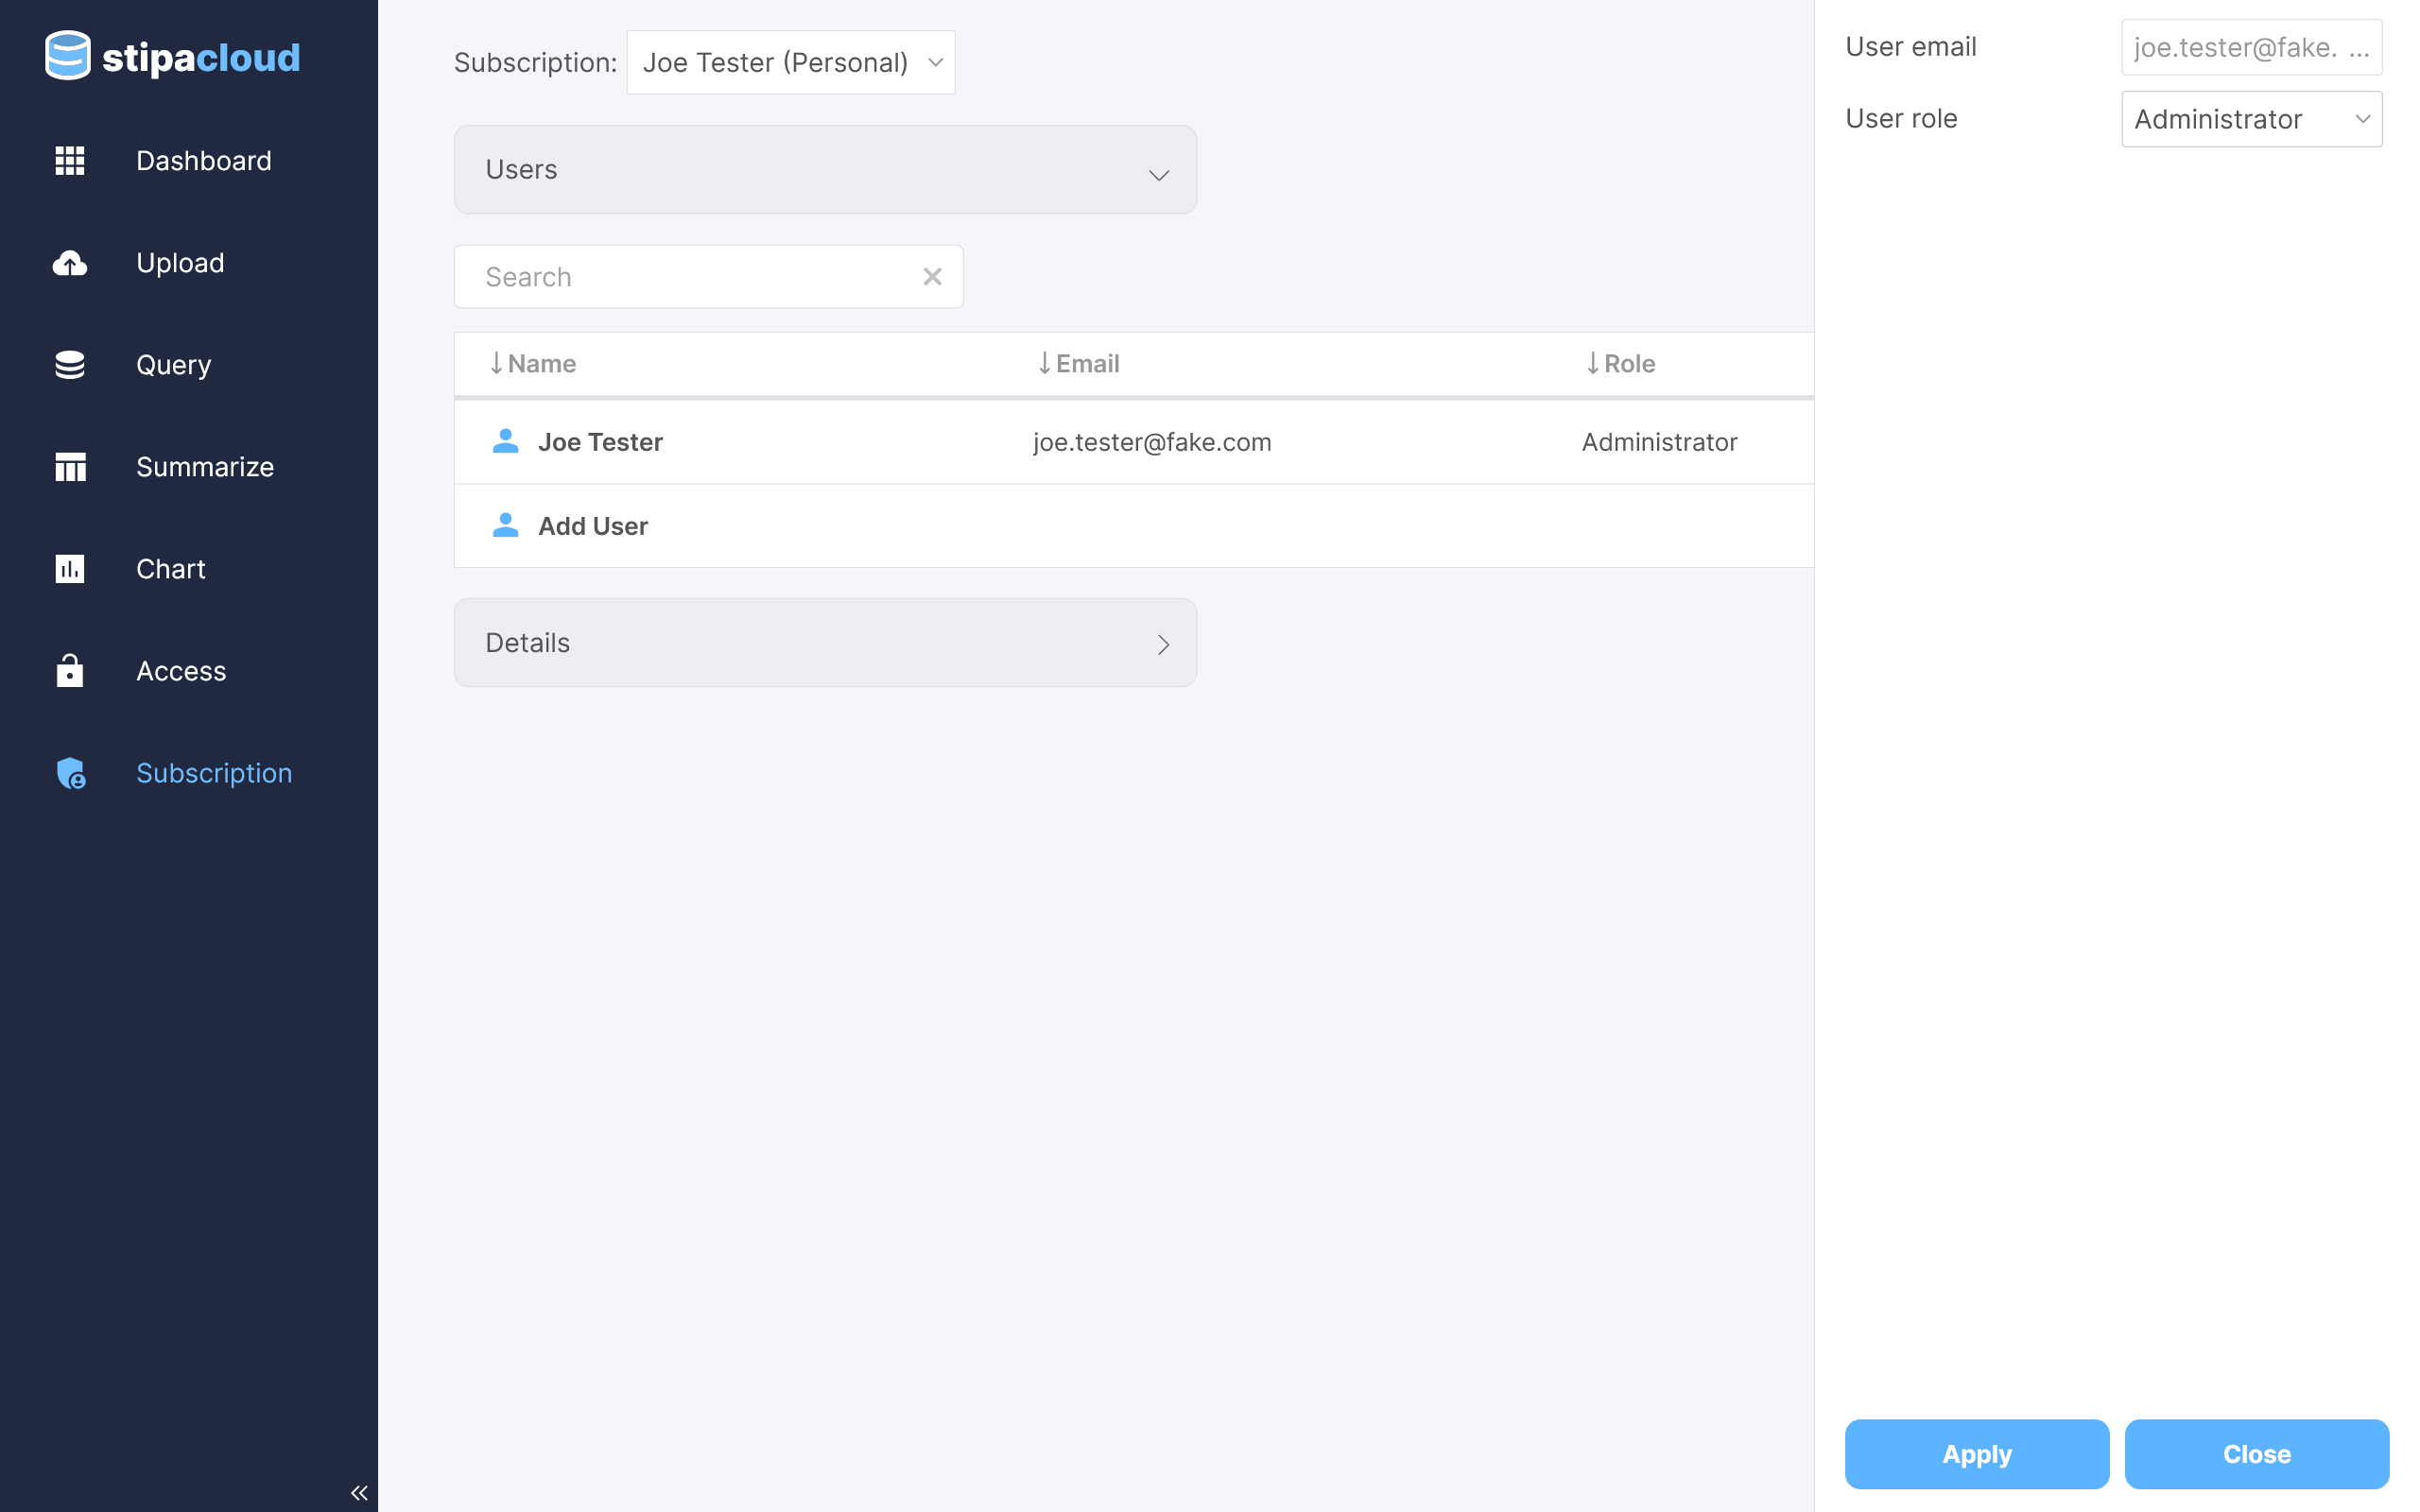
Figure 2. Editing subscription user roles.
Click on the Add User button to open a toolbar for adding a new user to the subscription. Enter their email address and desired role and click Apply. An invitation will be displayed at the top of their Subscription view asking them to confirm their desire to join the subscription. Only individuals with an existing Stipa Cloud account can accept an invitation.
Once the invitation is confirmed, the subscription will appear in the menu at the top of the user's Subscription view.
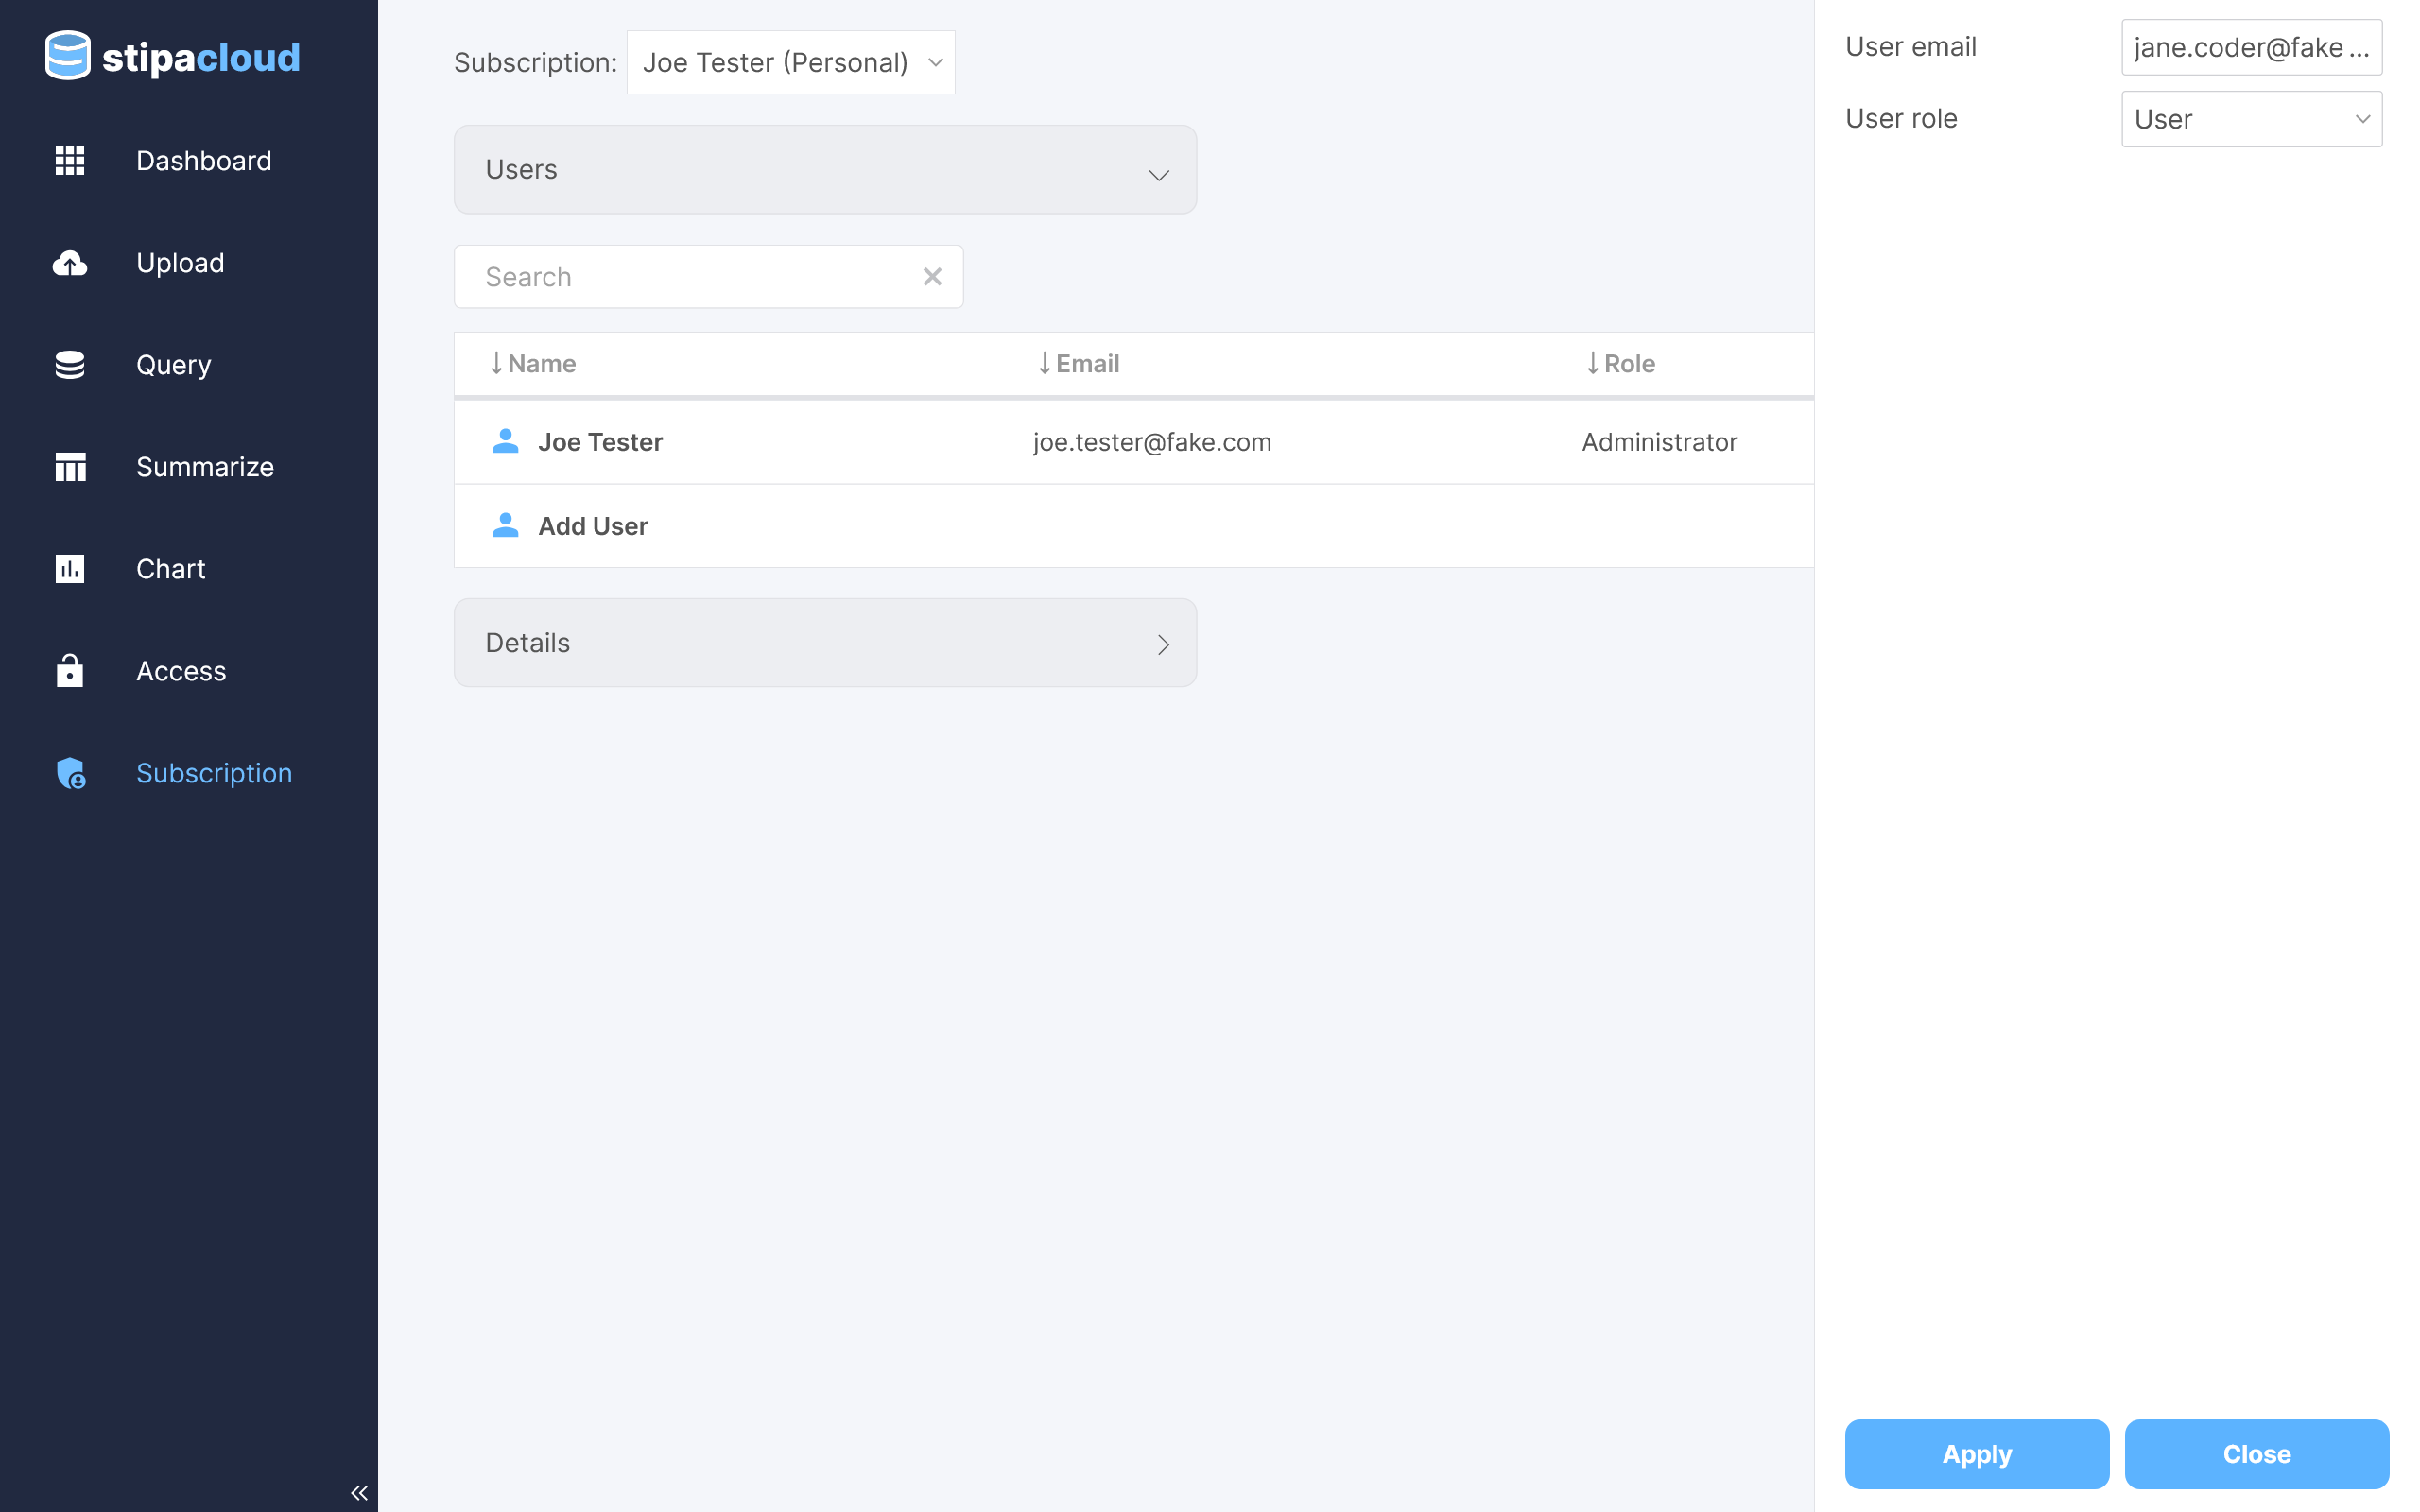
Figure 3. Adding a subscription user.
Any query, summary, or chart you share cannot be directly modified by the target user. It can, however, be saved by the user to their own subscription, and these copies can be subsequently modified. Make a resource read-only if you would like to prevent a resource from being copied.
Shared resources will appear in the target user's Dashboard view
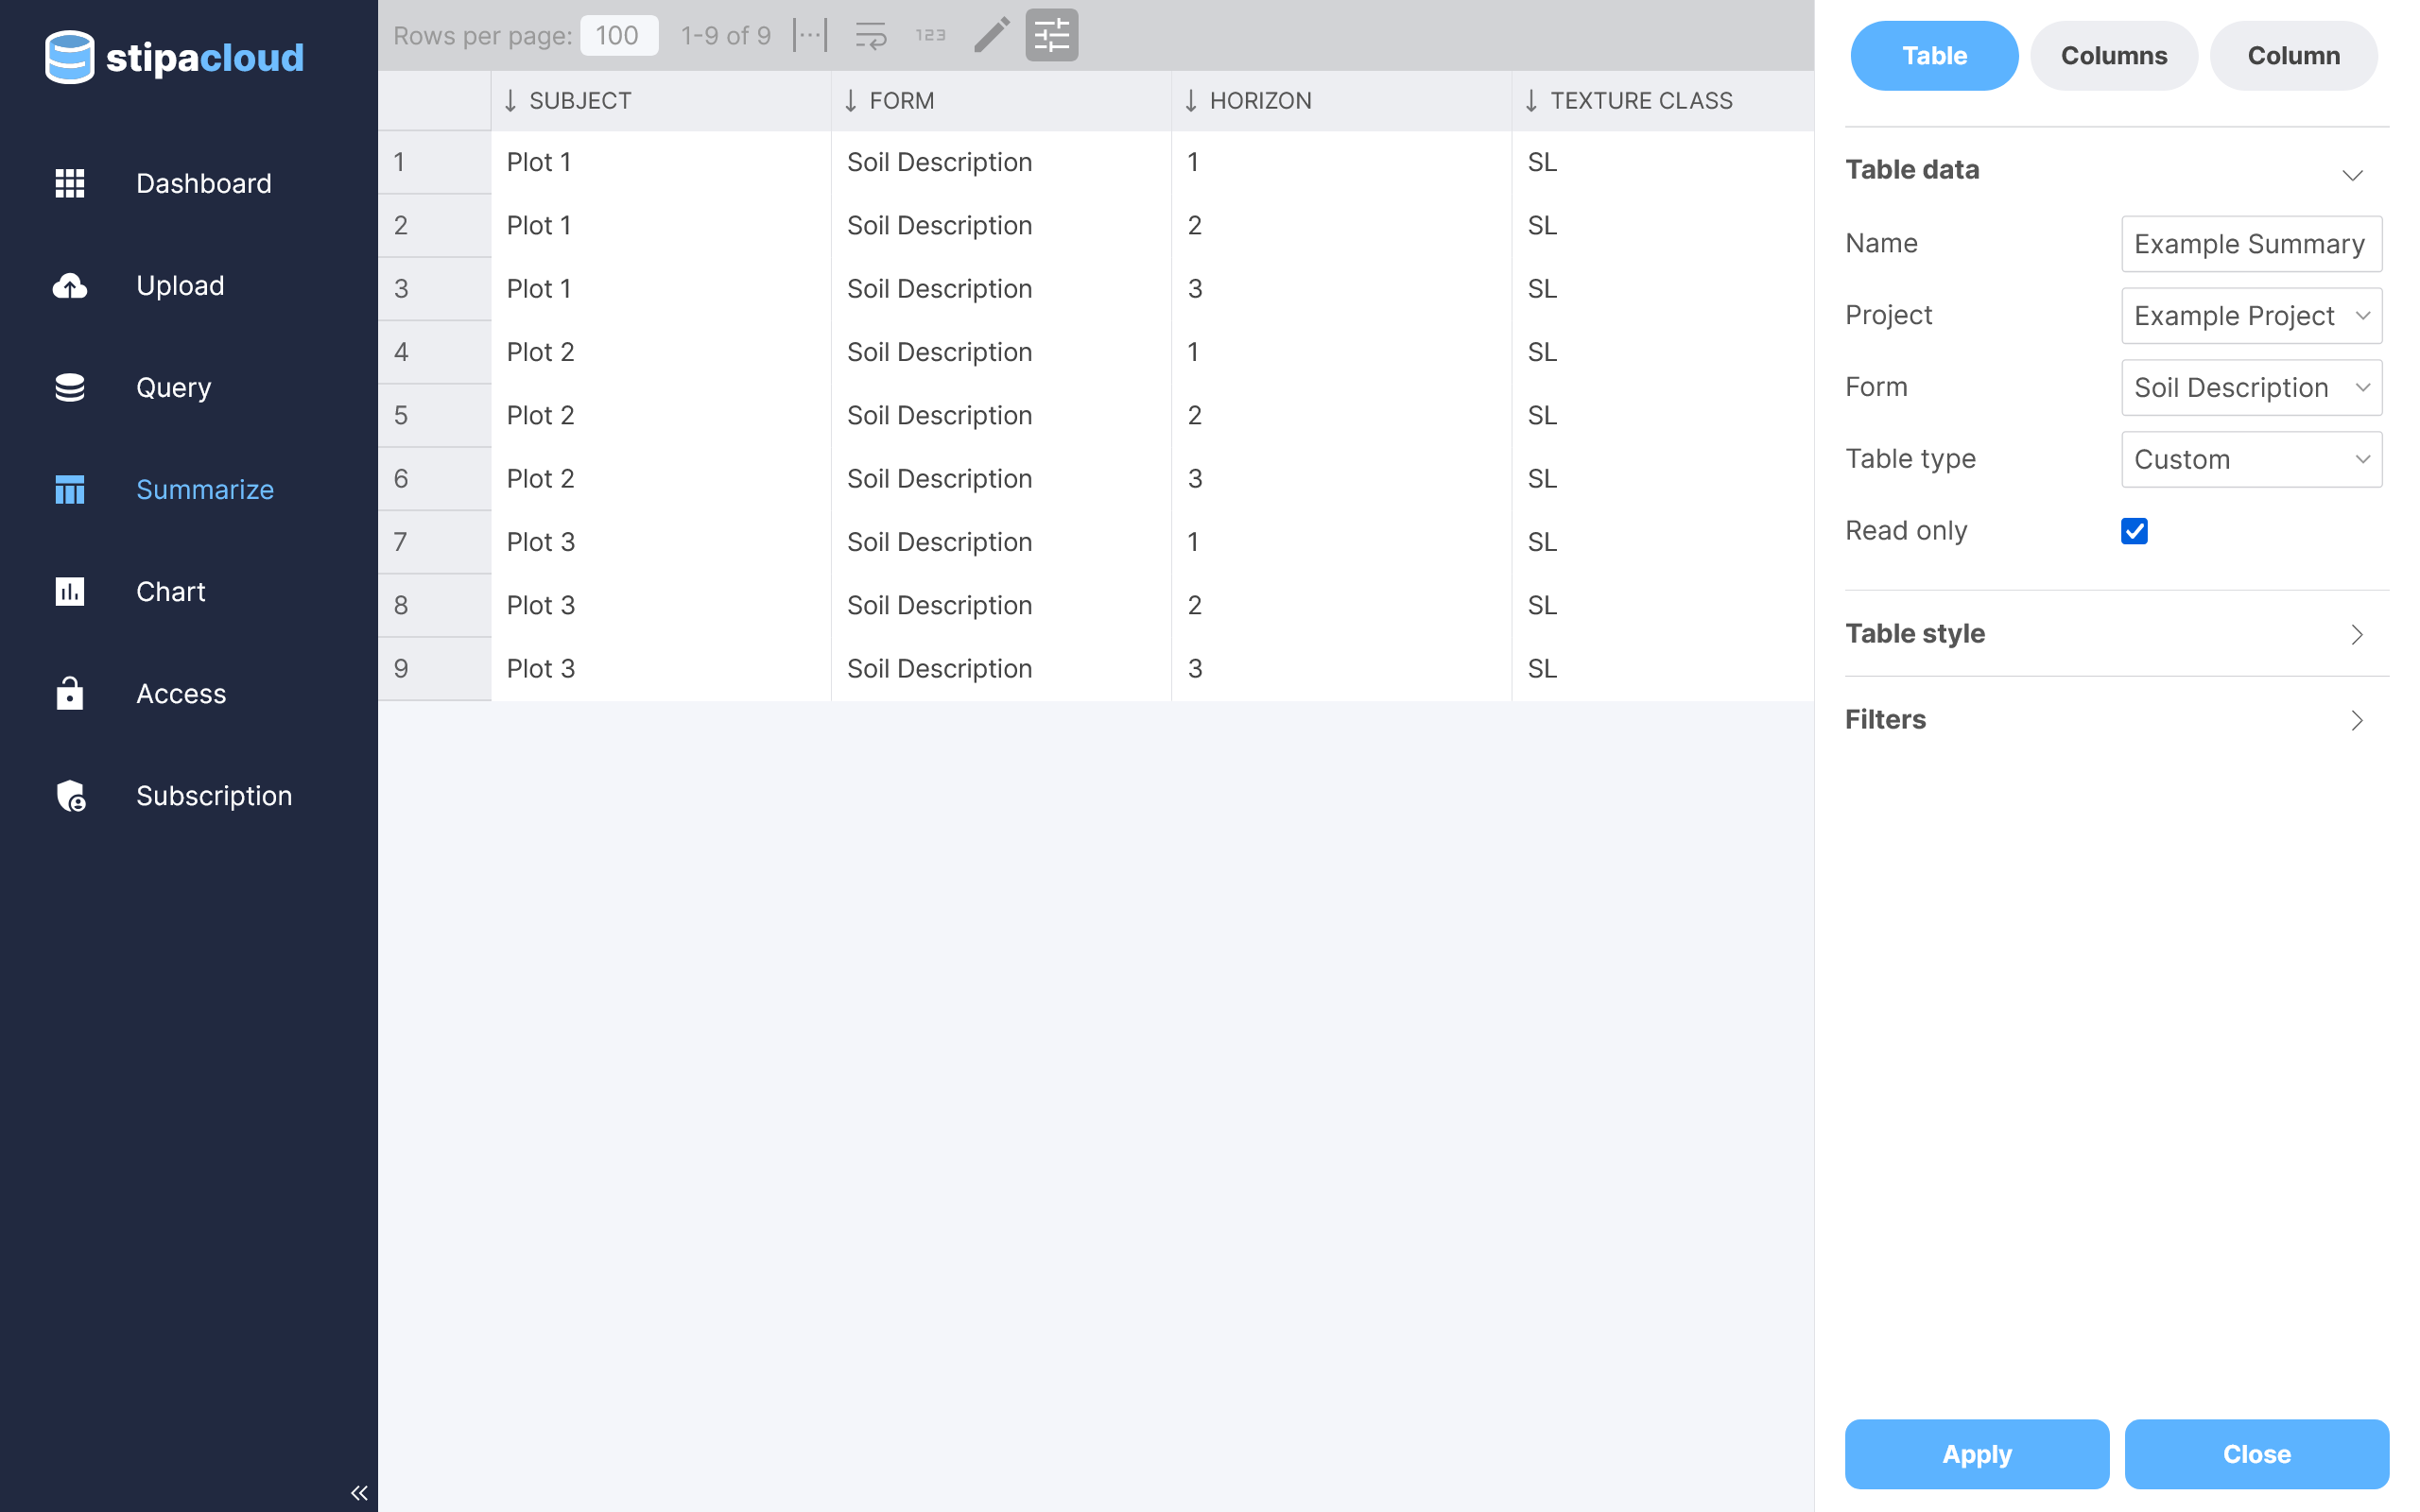
Figure 4. Sharing resources as read-only.
Project data is not immediately available to all subscription members. Instead, access to a Project must be given on a by-user basis.
To manage Project access, navigate to the Access view by selecting the appropriate tab from the menu on the left side of the screen.
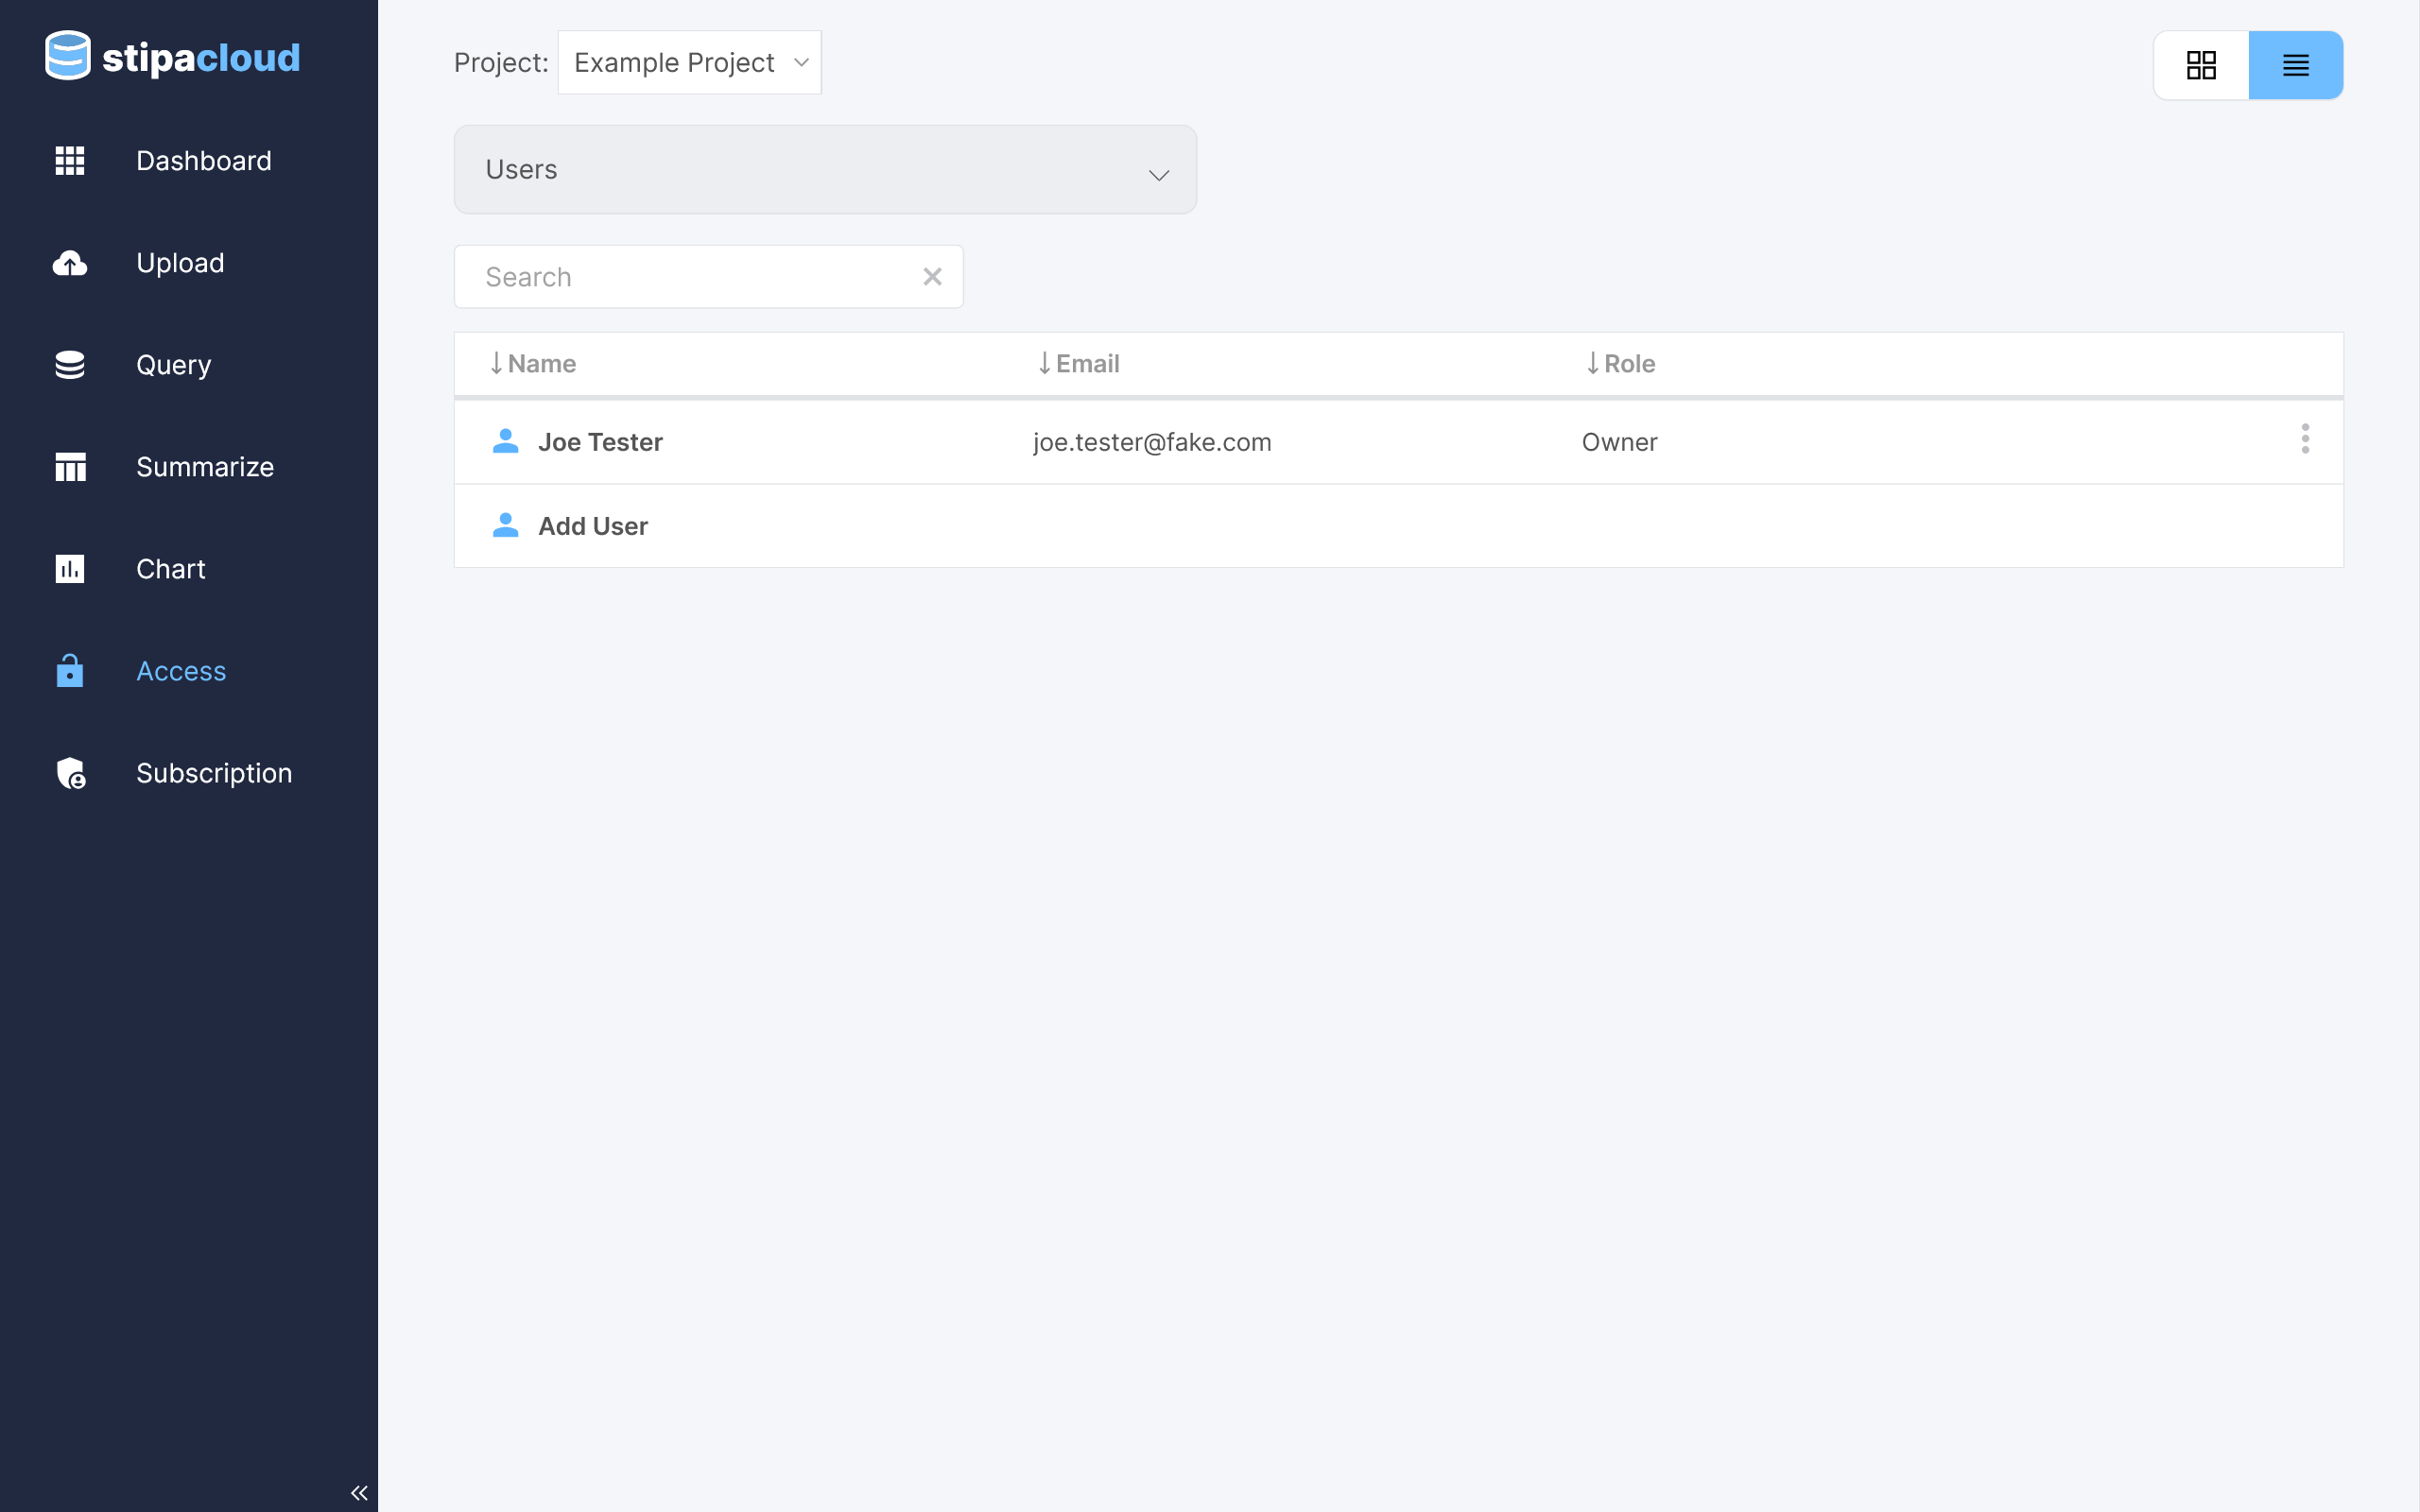
Figure 5. Project access view.
Select the Project you wish to manage from the menu at the top of the view. Users with access to the Project will appear in the User section of the view. Double click on a user to open a toolbar for editing their role. Select the desired role and click Apply. You can also open the toolbar, as well as remove a user from the Project, using the overflow menu in the upper right corner of the catalog item.
The Owner role is the most comprehensive role. With this role, a user can view, edit, delete, merge, import, and export Project data, as well as control the access of other users. The Editor role allows users to view, edit, delete, import, and export Project data only. The Member role allows users to view, import, and export Project data only. The Viewer role allows users to view and export Project data only.
When data for a new Project are uploaded to Stipa Cloud, the user who uploaded the data is automatically assigned the Owner role. Every Project must have at least one Owner.
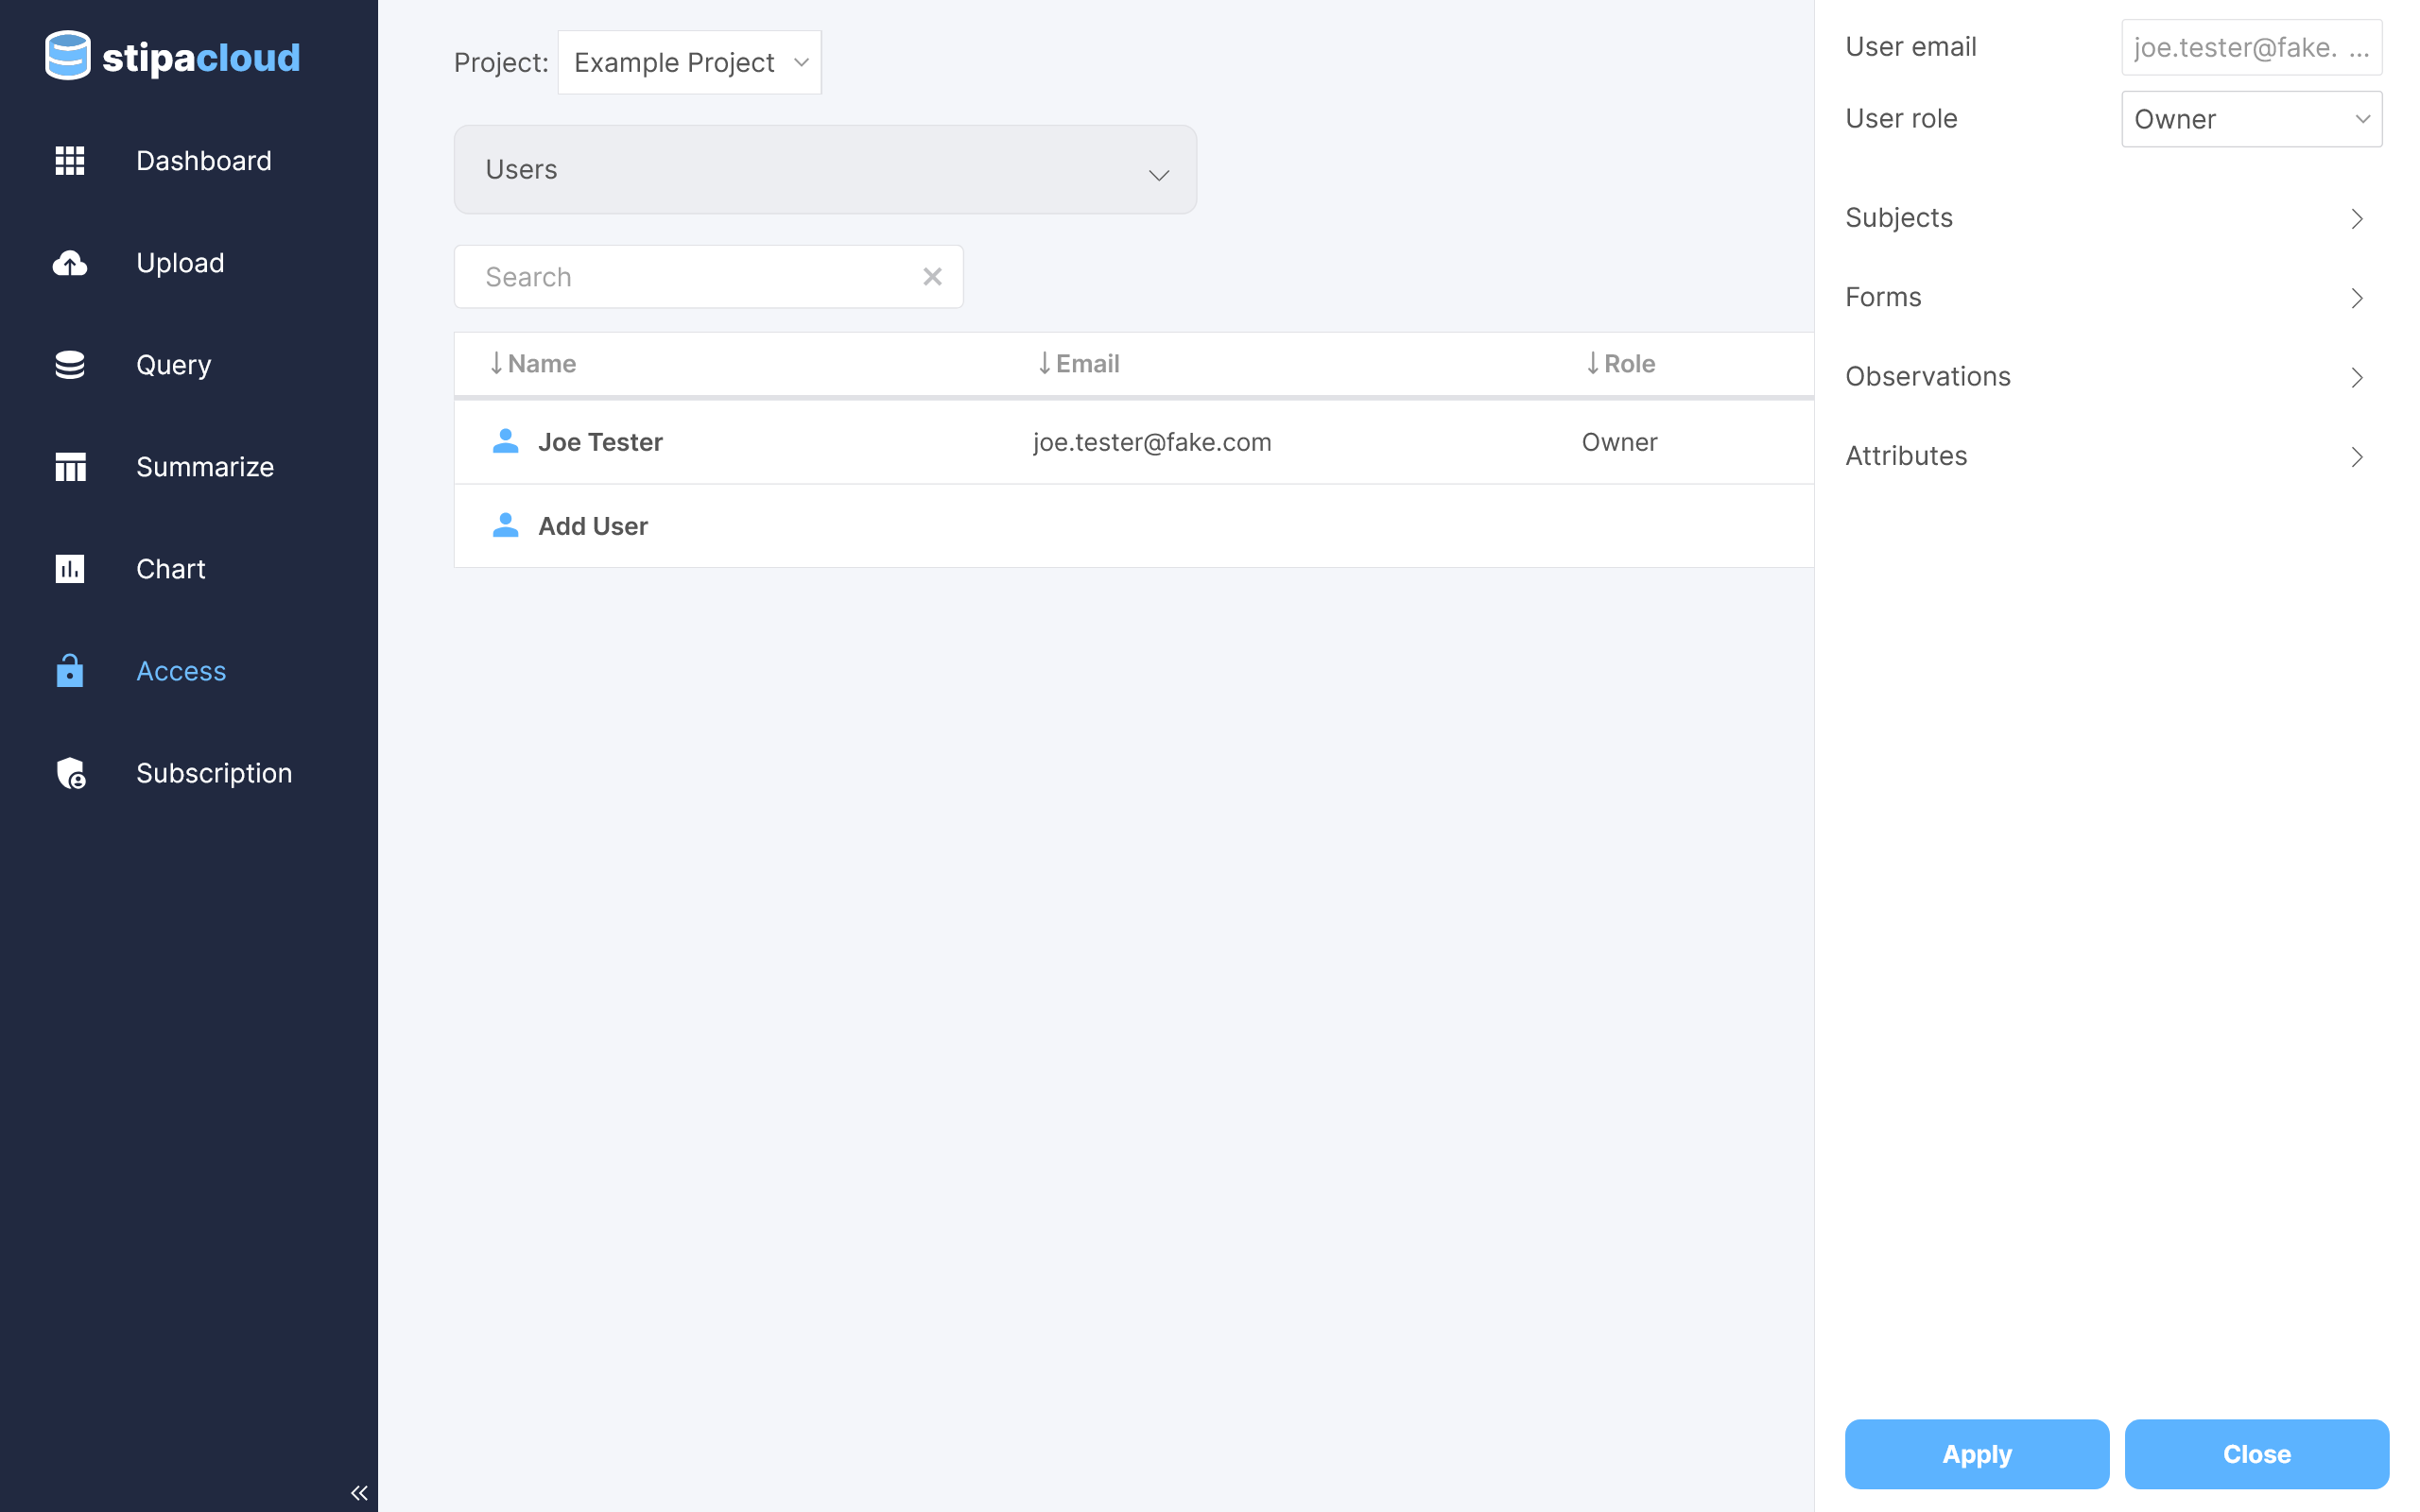
Figure 6. Editing project user roles.
By default, a user gains access to all Project data when given a Project role. To limit access to specific Subjects, Forms, Observations, and/or Attributes, select the desired options from menus included on the editing toolbar. Note that fine-grained access control is applied to all data requests, including queries, summaries, and charts. As a result, the same resource may appear differently to different users, if access is not uniform among users.
